In previous post we have covered, how to install the IDE. Now we will see how to create to java project in IntelliJ IDE which would be required for our first selenium script.
Just follow below steps and images -
Open the IDE.
 |
| Open the IDE. |
As we are starting fresh, we don't have any settings to import so we will select the second radio button and click on OK button
 |
| Setting import pop up |
We need to accept the privacy policy agreement before proceeding any further. Read the policy and then click on accept.
 |
| Privacy Policy Agreement |
For now, we would not make any change in default setting of IntelliJ be it theme or any plugin. If you want to play around with it, go ahead no harm in that.
 |
| Default setting for IDE |
Now IDE will get loaded as shown in below image.
 |
| IDE getting started |
Click on first option to create your first project.
 |
| Create New Project |
We need to set SDK for this project, so click on New button.
 |
| Set SDK for the project |
Click on JDK option from the list.
 |
| Set SDK for the project |
Set JDK path as shown in image below. If you have not installed JDK, then please follow the instruction mentioned in this post. It will help you to download and install JDK.
 |
| Set JDK for the project |
JDK path will reflect in SDK
 |
| Project SDK |
 |
| Next to continue |
Name your project and select the location for the project then create on Finish button.
 |
| Project Name & Location |
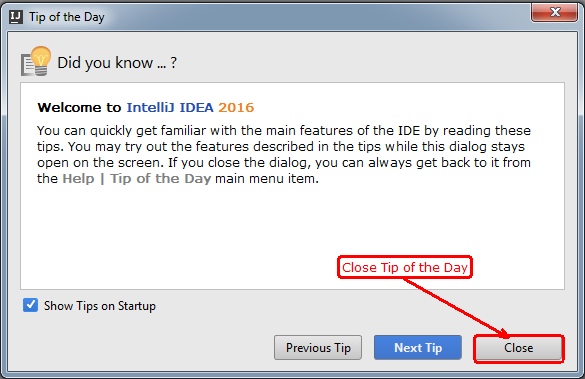
IDE will give you interesting Tip of the day, for now we will just close it.
 |
| Tip of the Day |
Click on the nodes to see your first project.
 |
| First Project |
Congratulations! You have created your first project successfully.
0 comments:
Post a Comment